How to Reglaze a Sink: Step-by-Step Guide for a Like-New Finish
If your sink has lost its shine, developed stains, or looks worn from years of use, you might be wondering how to reglaze a sink so it looks fresh again. Instead of spending time and money on a full replacement, refinishing the surface can bring back that smooth, glossy finish – often in just a few hours. In this guide, we’ll walk through what sink reglazing is, how the process works, and what to expect whether you’re taking a DIY approach or hiring a professional.
What Is Sink Reglazing?
Sink reglazing – sometimes called resurfacing or refinishing – is a process that restores the surface of your existing sink by applying a new, durable coating over the old finish. Rather than ripping out the old sink and installing a new one, learning how to reglaze a sink lets you refresh its appearance and extend its lifespan for far less money and fuss.
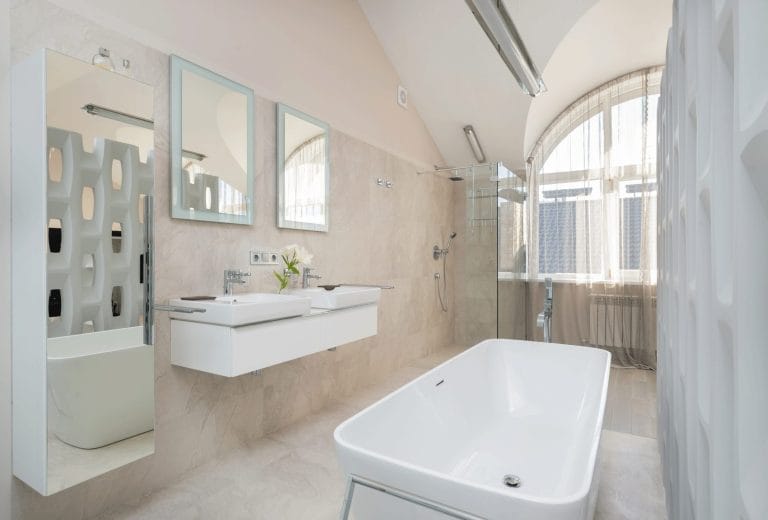
This process works well on materials like porcelain, ceramic, and some enameled surfaces, giving them a renewed look while hiding stains, scratches, and discoloration. The end result can be a glossy, refreshed sink surface that feels and looks like new again.

Why Reglaze Instead of Replace?
There are plenty of reasons people choose to reglaze a sink rather than completely replace it:
Cost-Effective: Reglazing is significantly cheaper than buying and installing a new sink.
Quick Transformation: Most reglazing projects can be completed in a matter of hours, with minimal interruption to daily routines.
Eco-Friendly: You’re keeping your existing fixture out of the landfill by refreshing it instead of replacing it.
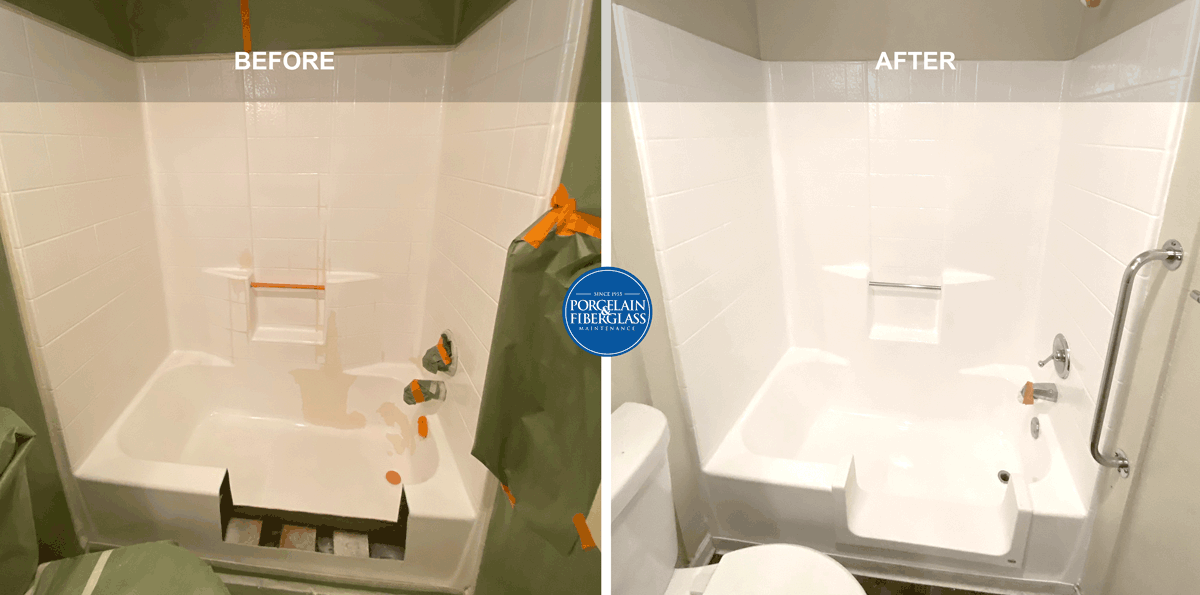
Improved Aesthetics: A freshly reglazed surface looks bright, clean, and modern without full renovation costs.
Reglazing helps you get a like-new finish without drilling, plumbing, or tearing out old fixtures – especially helpful if your sink is in good structural shape but just needs a cosmetic update.
How to Reglaze a Sink: Step-by-Step
Here’s a straightforward look at the typical reglazing process so you know what’s involved when learning how to reglaze a sink:
1. Clean Thoroughly
The first step is to remove all dirt, soap scum, and grease from your sink surface. This ensures the new coating will stick well and look smooth.
2. Repair Scratches and Chips
Any visible damage, like small chips or surface scratches, should be filled and smoothed before reglazing begins.
3. Sand or Etch the Surface
Light sanding or etching removes the glossy finish and creates tiny grooves that help the new coating bond securely.
4. Mask Off Surroundings
Protect countertops, faucets, and nearby areas with tape and plastic sheeting so only the sink gets the new finish.
5. Apply Primer (if Needed)
Some reglazing kits include a bonding primer. Applying this first can help the topcoat adhere more evenly.
6. Apply the Reglazing Coating
Using a brush or sprayer, apply the reglazing material in thin, even layers. Multiple coats are often needed for best results.
7. Let It Cure
Once applied, the sink will need time to dry and cure fully before use – typically 24–48 hours to reach full hardness and durability.
Whether you choose a professional service or tackle a DIY kit, these steps form the backbone of how the reglazing process works and how you can achieve a refreshed sink surface.
Get a Free Quote
Reach out to local reglazing experts now and see how affordable and transformative sink reglazing can be for your bathroom or kitchen.
Get a Free Estimate